**Hi friends! I'm currently in Australia, swimming with sea turtles and singing at the Opera House. In the meantime, please show some love to this week's fun guest bloggers! I'll be home soon (hopefully with a kangaroo in my possession.)**
"Hello, howdy, g'day mates! While Julie is away on her "down under" vacay (so jealous and, at the same time, so exicted for her ... she promised to take lots of pictures ... kangaroos, koolas, hooray!), she invite me to invade her lovely blog and share with you a diy!
"Hello, howdy, g'day mates! While Julie is away on her "down under" vacay (so jealous and, at the same time, so exicted for her ... she promised to take lots of pictures ... kangaroos, koolas, hooray!), she invite me to invade her lovely blog and share with you a diy!
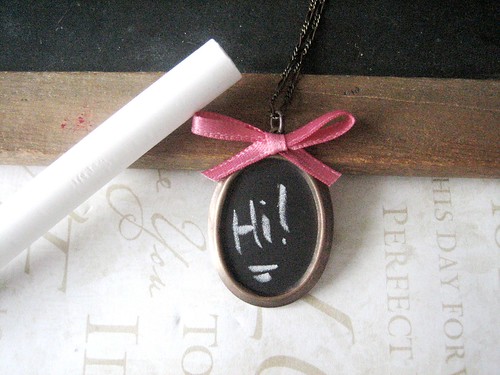
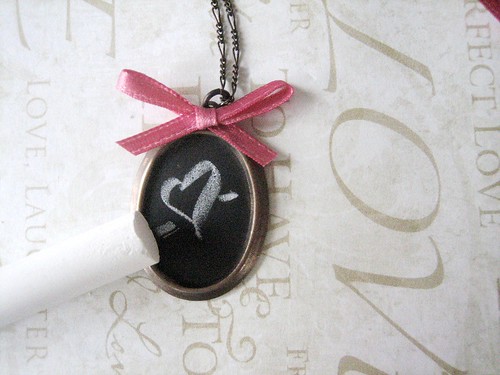
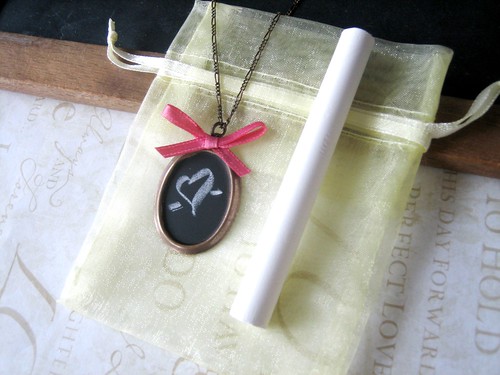
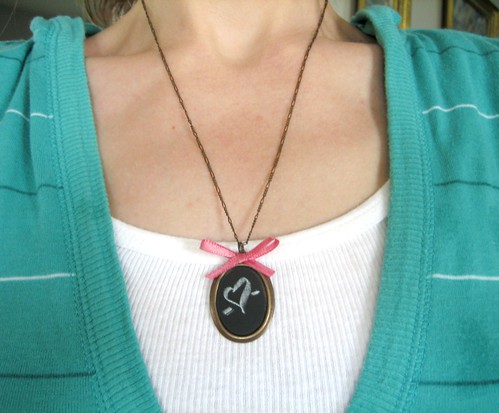
Today, I am going to show you how you can make a sweet, miniature chalkboard necklace. This necklace would make for a super fun (any occasion) gift, as you can include just about any message your heart desires on the chalkboard. Some ideas to get the brain cells moving...get well, bff, love, a special date, initials, a sweet simple "hi"!...you get the drift!
Without further ado...let's get crafting!
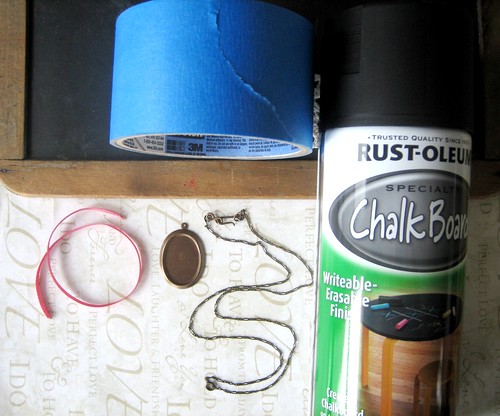
What you'll need:
- Rust-oleum specialty Chalk Board spray
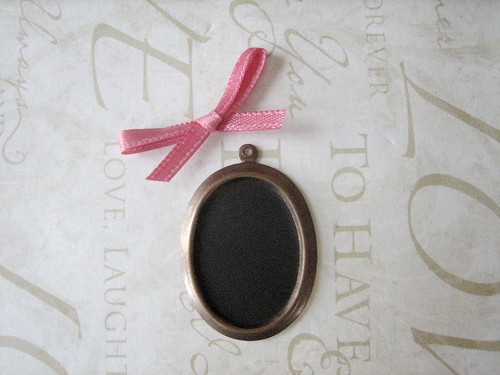
- a bezel pendant (you could find one at your local bead store or even purchase one through Etsy...this or this would do nicely)
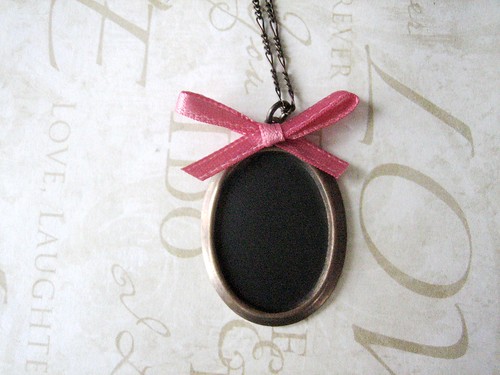
- finished chain
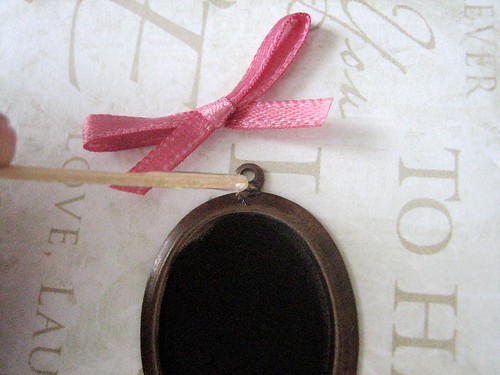
- a scrap of satin ribbon
- glue (I highly recommend a tube of E6000, it is inexpensive, amazingly strong and long lasting!)
- painter's tape
- newspaper
- basic white chalk
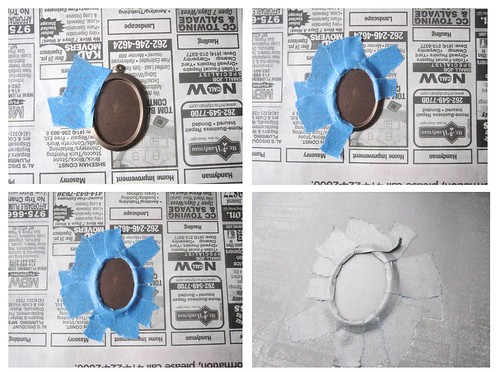
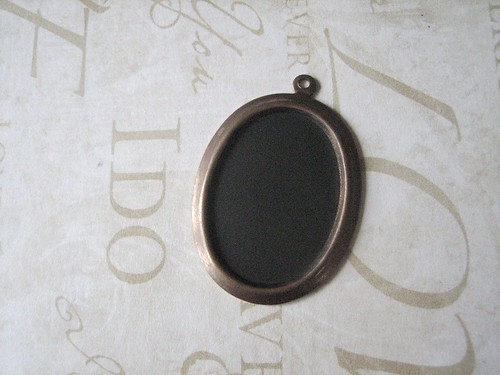
STEP 2: In a well ventilated area (i.e. outside) apply 2-3 light coats of "Chalk Board" spray to the exposed surface of the pendant (wait approximately 3-4 minuets between coats). Let dry.


xx Cat"

SO cute! I have some chalkboard paint at home and you bet I am going to try this out!
ReplyDeleteThis is so cute and creative! :)
ReplyDeletexx Jessica
Wow your in Australia, I wish I was too.
ReplyDeleteThis necklace idea is fantastic, its so creative, I love it.
Jess x
This is so darling! Thank you so much for sharing this.
ReplyDeletehttp://shannonhearts.blogspot.com/
That is awesome! I never would have thought of something like that. I do like the idea of the chalkboard spray for things. Might have to start checking out the jewelery selections at the thrift stores... thanks for sharing!
ReplyDeletethank you! effective tutorial and fantastic idea :D
ReplyDeleteI love this idea. So cute!!
ReplyDelete♥♥♥
- Ashley Elizabeth
( http://blog.alElizabeth.com )
I want one! That is so adorable. Ahhhhh and your Etsy shop is closed until April 2nd, I was so eager to find out if you had them available there.
ReplyDeleteWhat a great idea! Thanks for sharing.
ReplyDeleteThis is so cute! I have some chalk board paint, now I am going to get me a bezel pendant, so I can try this. Thank you for sharing your cute chalkboard pendant tutorial.
ReplyDelete